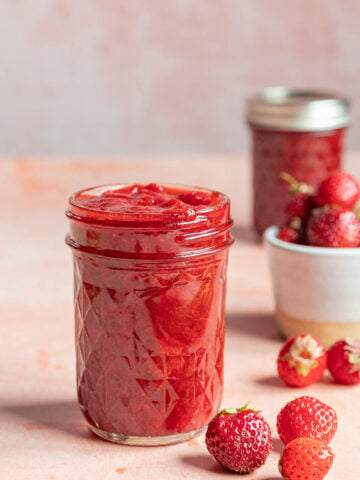
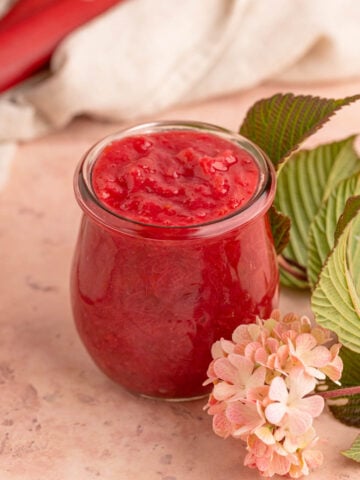
This creamy and delicious Orange Curd recipe, based on my lemon curd recipe, is made with a delicious combination of fresh orange zest and fresh squeezed orange juice. Since orange juice doesn't have the same sharp flavor as lemon, the orange juice is cooked until reduced by half for a more concentrated orange flavor. It's then combined with sugar, eggs, and butter to make an incredibly citrusy and silky fruit curd.

Jump to:
With just a few simple ingredients you'll have a new delicious treat for your dessert repertoire. Orange curd, just like any variety of fruit curd recipe, is a thick and creamy spread used to as a topping or a filling and very easy to make.
This recipe is made with Navel oranges, but you can use a variety of oranges to make orange curd.
- Try my Tart and Tangy Seville Orange Curd recipe, which uses fresh Seville oranges
- Blood oranges make an exceptionally fruity curd in this Blood Orange Curd, or
- Cara Cara oranges will make an orange curd that is sweeter and more floral.
Why You'll Love This Recipe
- Easy to Make: The recipe has just 5 ingredients and takes less than 30 minutes of hands on time to make.
- Great Flavor: Similar to my Grapefruit Curd recipe, the orange juice is boiled to reduce it and concentrate the flavor so the final curd has an amazing orange flavor. The egg yolks and butter add a richness and creaminess that takes it to the next level.
For more ideas on fruit curds check out my other fruit curd recipes on the blog. There are 13 to choose from, including one of my new favorites, Mango Curd.
Orange Curd Ingredients
You'll need the following ingredients for this creamy orange curd:

- Fresh Squeezed Orange Juice: This recipe uses navel oranges for the juice. Make sure to taste the juice before adding the egg yolks. Depending on how sweet it is you may want to add more sugar.
- Orange Zest: Orange zest adds color and flavor the orange curd. The skin of the orange should be bright and have a slight shine to it. That indicates there is plenty of moisture left in the peel. If the outside of the orange is dull and looks shriveled you won't get much zest from the orange, though the juice may still be good.
- Granulated Sugar: Sugar adds sweetness, but the main purpose of the sugar is to combine with the eggs to create a creamy custard. The sugar breaks up the protein clumps in the eggs, which results in raising the temperature in which the eggs set. Permitting the egg proteins to set slow and disperse with the other ingredients results in a smooth and creamy curd.
- Large Eggs and Egg Yolks: The eggs add flavor, thicken the curd and create a creamy texture. They also make a stable emulsion - meaning the curd won't separate or break apart when it cools.
- Unsalted Butter: Butter adds richness to the curd and helps make the curd satiny smooth. If you are allergic to dairy you can make the curd without butter. It will be a little less creamy, but still taste delicious.
- Kosher Salt: A little bit of kosher salt balances the sweetness of this curd.
Full ingredients, measurements, and instructions are in the recipe card at the bottom of this post.
How to Make Orange Curd
This orange curd comes together in just a few minutes. For the best results, don't rush the process when it comes to cooking the curd.
Step 1: Separate the egg yolks into a glass container with two whole eggs. Store the leftover egg whites in the refrigerator in an airtight glass container.

Step 2: Place the sugar in a bowl and zest the sugar directly into the sugar.

Step 3: Use your fingers to rub the orange zest into the sugar until it turns light orange and it smells like oranges.

Step 4: Place the orange juice, eggs, and sugar in a non-reactive (i.e. stainless steel or enamel lined).

Step 5: Whisk until the eggs are thoroughly incorporated into the mixture.
A nonreactive pan is a pan that doesn't react with the food being cooked. Stainless steel and enamel-coated cast iron are non-reactive, and aluminum and cast iron are reactive. Reactive pans will react with the acid in the juice and change the flavor of the final dish.
Step 6: Place the saucepan over medium-low heat and whisk constantly. Make sure to cover the entire bottom of the pan while whisking
Don't walk away from the curd while it's cooking or it will burn. If you have to walk away, remove the pan from the heat.
As the curd starts to thicken and steam rises from the surface, check the temperature often using an instant-read thermometer. Cook the curd until it reaches a temperature of 185F or it coats the back of a spoon and doesn't run off. I recommend using the thermometer for the best results.
Don't let the curd boil. Boiling curd will cause it to curdle and create a grainy texture. If the orange curd curdles, strain it twice through a fine-mesh strainer, to remove the grainy bits. If that doesn't work, process it in a blender to try and smooth it out.

Step 7: When the curd has thickened remove it from the heat and whisk in the butter one tablespoon at a time.

Step 8: Strain the curd through a fine-mesh strainer to remove the egg solids.

Step 9: Cover the orange curd with plastic wrap to keep a skin from forming on top of the curd.
Chill the curd immediately to keep bacteria from forming.
How to Store the Curd
- Refrigerate: Refrigerate the orange curd in an airtight container for up to 2 weeks.
- Freezer: Place the orange curd in an airtight freezer-safe container for up to one (1) year. When ready to use the curd, let it thaw in the refrigerator for 24 hours before using it.

What To Do With Orange Curd
There are many different ways to use orange curd.
- Spruce up your breakfast and top your scones, pancakes, or waffles with the curd.
- Make crepes, and fill them with this creamy orange curd topped with fresh whipped cream
- For a quick and impressive dessert use it as an ice cream topping or cheesecake.
Pro Tips for Success
- Use a non-reactive saucepan, like stainless steel or enamel-coated cast iron. Avoid aluminum, which can give the curd a metallic taste.
- Check the temperature often with an instant-read thermometer, and don't let the curd boil. Boiling can cause the curd to curdle and become grainy.
- Cover the surface of the curd with plastic wrap to prevent a skin from forming on top of the curd.
- Chill the curd immediately to prevent bacteria from forming.

If you make this creamy orange curd please leave a rating and a comment below.
Connect with me on Instagram and tag me @bakesbybrownsugar to share your recipe remake photos.
Like what you see? Click here to subscribe to Bake's by Brown Sugar Baking Newsletter to get free and delicious treats delivered to your inbox.
If You Like This Recipe, Try These Other Fruit Curd Recipes
Want to Save This Recipe?
Enter your email below and I'll send it to your inbox. Plus get new and recommended recipes sent to you every week!
By submitting this form, you consent to receive emails from Bakes by Brown Sugar.

Easy Orange Curd
Equipment
Ingredients
- 1/2 cup (100 grams) granulated sugar
- 2 tablespoons (12 grams) orange zest
- 1-1/2 cups (360 ml) fresh-squeezed orange juice
- 4 large (80 grams) egg yolks
- 2 large (100 grams) eggs
- 1/8 teaspoon kosher salt
- 6 tablespoons (85 grams) unsalted butter room temperature
Instructions
- Place a strainer over a medium-sized bowl, near the stove. Use a 2 or 3-quart non-reactive saucepan for this curd.
- Place the sugar in a medium-size bowl and zest the oranges directly into the sugar. Use your fingers to rub the orange zest into the sugar until the sugar turns orange and feels like wet sand.
- Juice the oranges. Place the juice in a 2 or 3-quart saucepan, bring it to a boil and then boil the juice until it’s reduced to 3/4 cup. Remove the pan from the heat and the let the orange juice cool for about 30 minutes or it is barely warm.
- Add the orange-sugar mixture, egg yolks, large eggs, and salt to the orange juice and whisk until the ingredients are well combined.
- Cook the mixture over medium heat, whisking constantly until the mixture is thickened and registers 185°F with an instant-read thermometer. It should coat the back of wooden spoon and leave a visible trail when you run your finger through it. When the mixture has thickened and reached temperature remove the saucepan from heat and whisk in the butter 1 tablespoon at a time.
- Pour the orange curd into the strainer and press it through the strainer with a spatula.
- Cover the surface of the curd with plastic wrap, gently pressing the plastic wrap onto the surface of the curd. Place the curd in the refrigerator and chill for at least 2 hours. Once the curd has chilled place it in an airtight container
Storage
- Store the curd in the refrigerator for up to 2 weeks. If any white spots appear on top of the curd discard it. It has started to mold.
- The curd can be frozen for up to 1 year in a freezer-safe container.


Thanks for visiting my blog. Let me know what you think.