This homemade apricot jam is made with just a handful of ingredients, fresh apricots, sugar, lemon juice, and a splash of vanilla extract, and it tastes amazing. I’ve loved apricot jam for as long as I can remember (especially the Smucker’s version), so I set out to make one from scratch that captured everything I love about it: sweet, tart, fruity, and just the right texture.
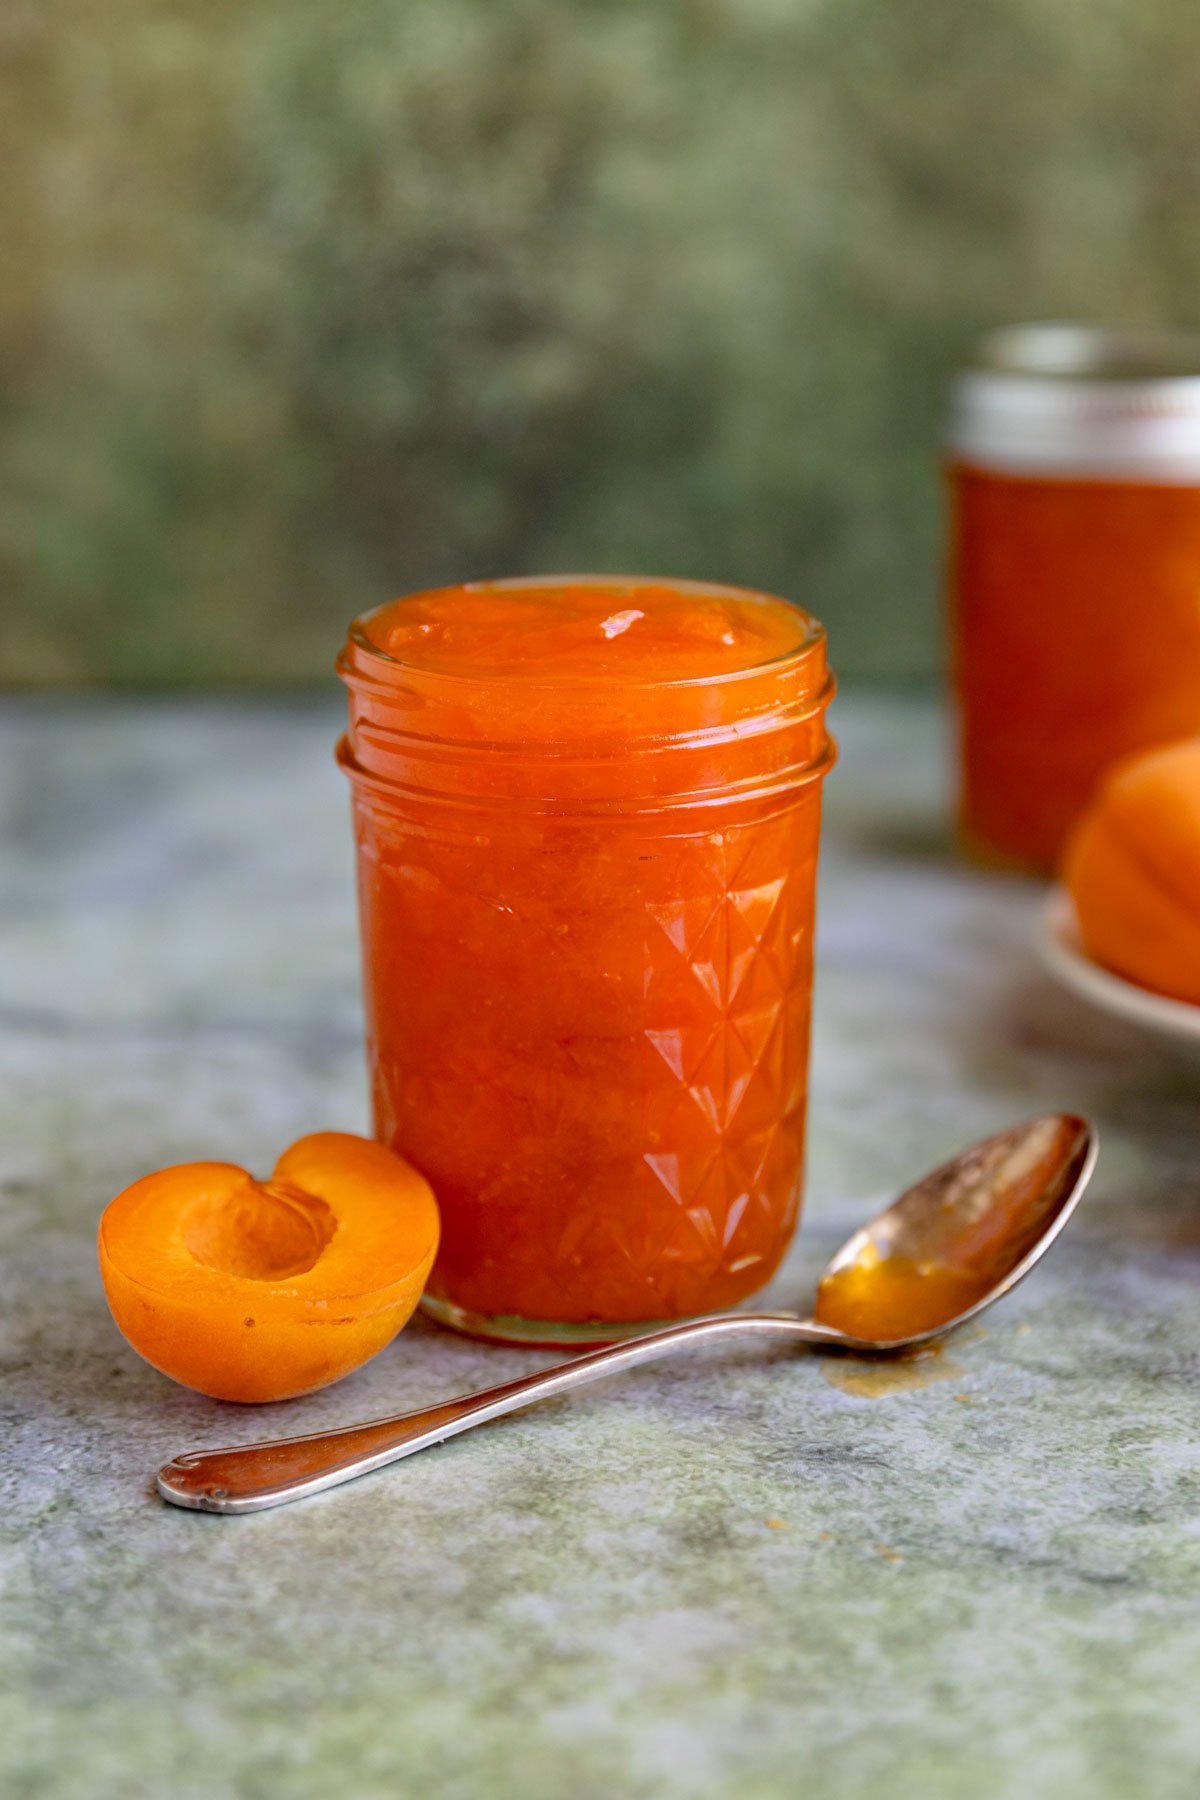
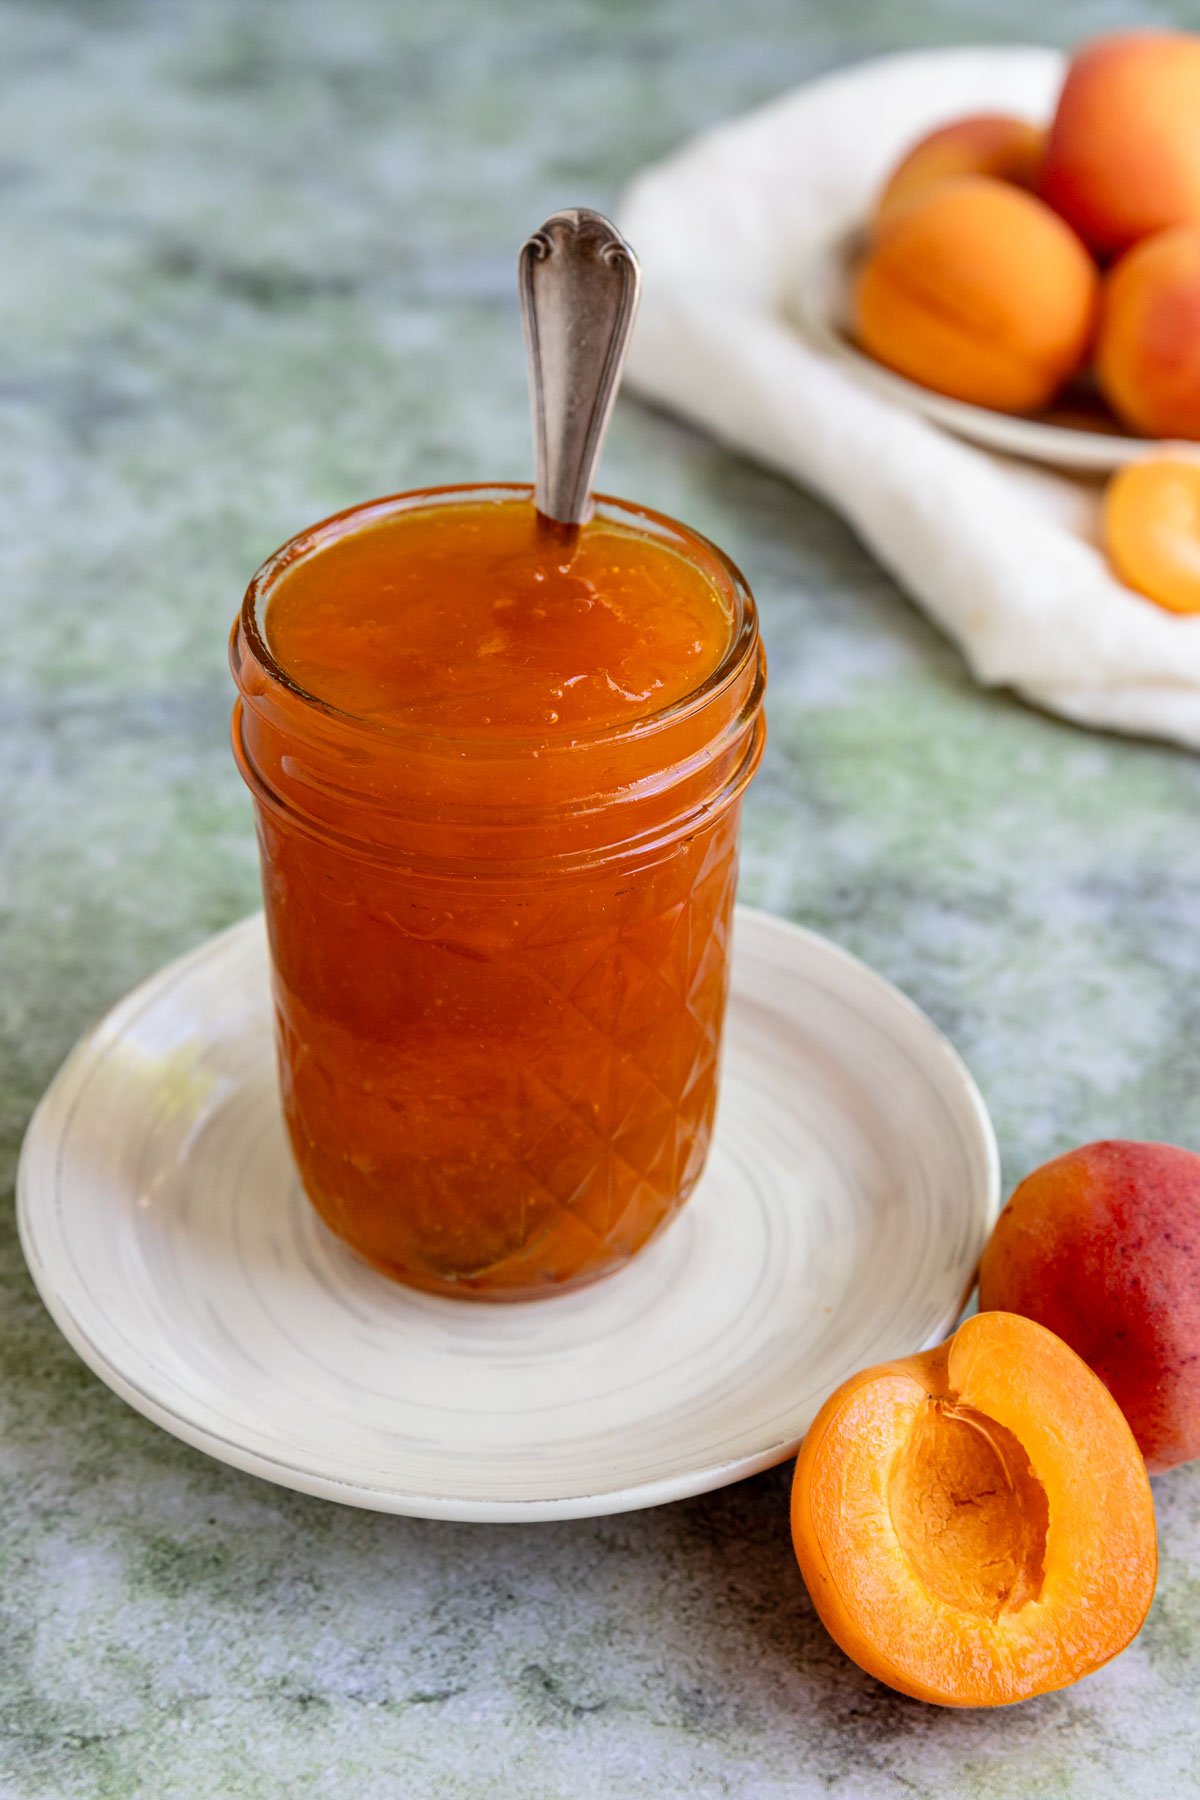
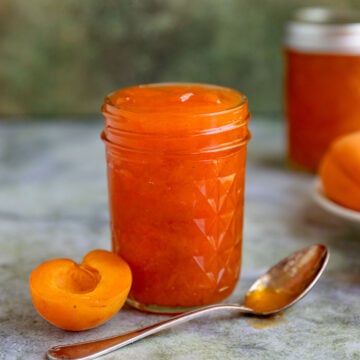
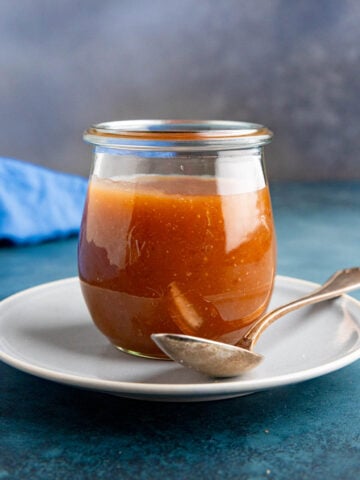
After testing this recipe twice, I found the perfect balance. The final jam is a vibrant orange color, with soft chunks of fruit and a delicious mix of sweet and tart flavors. It has that tartness that makes the back of your throat tingle, which is how I know it's perfect.
This jam is a simple, small batch recipe that doesn’t require pectin or canning, just a quick stovetop cook (less than 20 minutes) and a bit of patience. For more small-batch jam recipes, check out my strawberry and raspberry jams.
Sweet, Tart, and Just Right: Why This Jam Works
- Bold apricot flavor: The higher sugar ratio helps bring out the natural tartness and fruity depth. I tested this recipe with a low-sugar version, and I was surprised to discover that the version with more sugar had a more tart apricot flavor, which is what I was going for.
- Easy, small-batch recipe: This recipe makes about 2 cups of jam, which can easily fit into your refrigerator or freezer. No canning required.
- Naturally pectin-free: Apricots have a lot of natural pectin, so the jam sets beautifully after refrigeration.
What I Learned Making This Recipe
The first time I tested this jam, I used 200 grams of sugar. The flavor was mild, and the jam never reached the 217–220°F range needed to properly set. I also cooked it at too low a temperature, which gave me a jam that lacked the tartness I love.
For the second test, I increased the sugar to 300 grams and brought the jam to a rolling boil until it reached 218°F. The flavor was much brighter and more complex. Even with more sugar, it actually tasted more tart.
Key Ingredients for This Apricot Jam
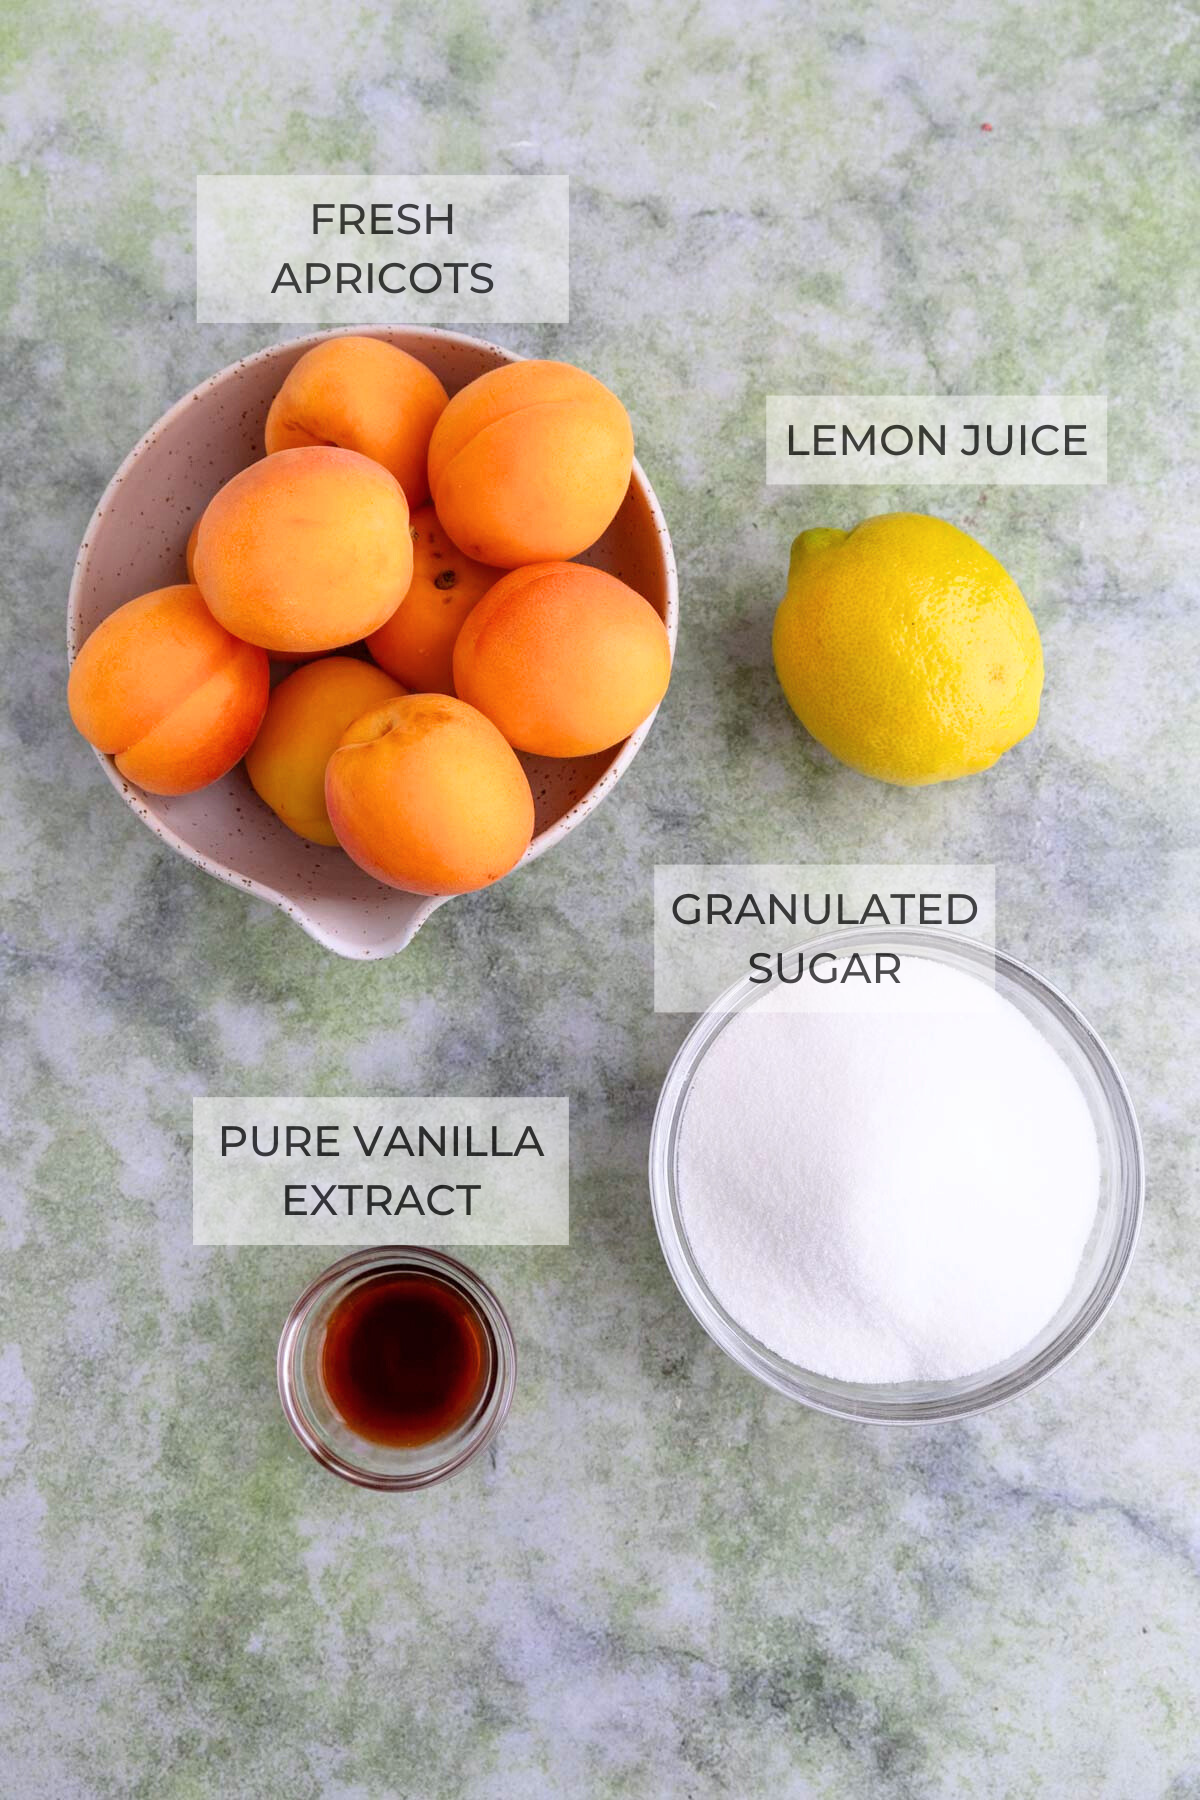
- Fresh Apricots: The most important tip is to taste your apricots before you start making this jam. Ideally, the taste will be a combination of tart and sweet, but mostly tart is okay as long as the apricots have flavor. Unfortunately, it's easy to find apricots that taste like cardboard, i.e., they have no flavor. If the apricots don't have any flavor, don't use them.
- Pure Vanilla Extract: Adding just a little vanilla extract towards the end of cooking changes the flavor in a good way. The vanilla adds a hint of sweetness. You may be tempted to add more vanilla than the recipe calls for, especially if you like vanilla a lot. But too much vanilla will overwhelm the other flavors.
Full ingredients, measurements, and instructions are in the recipe card at the bottom of this post.
How to Make Homemade Apricot Jam
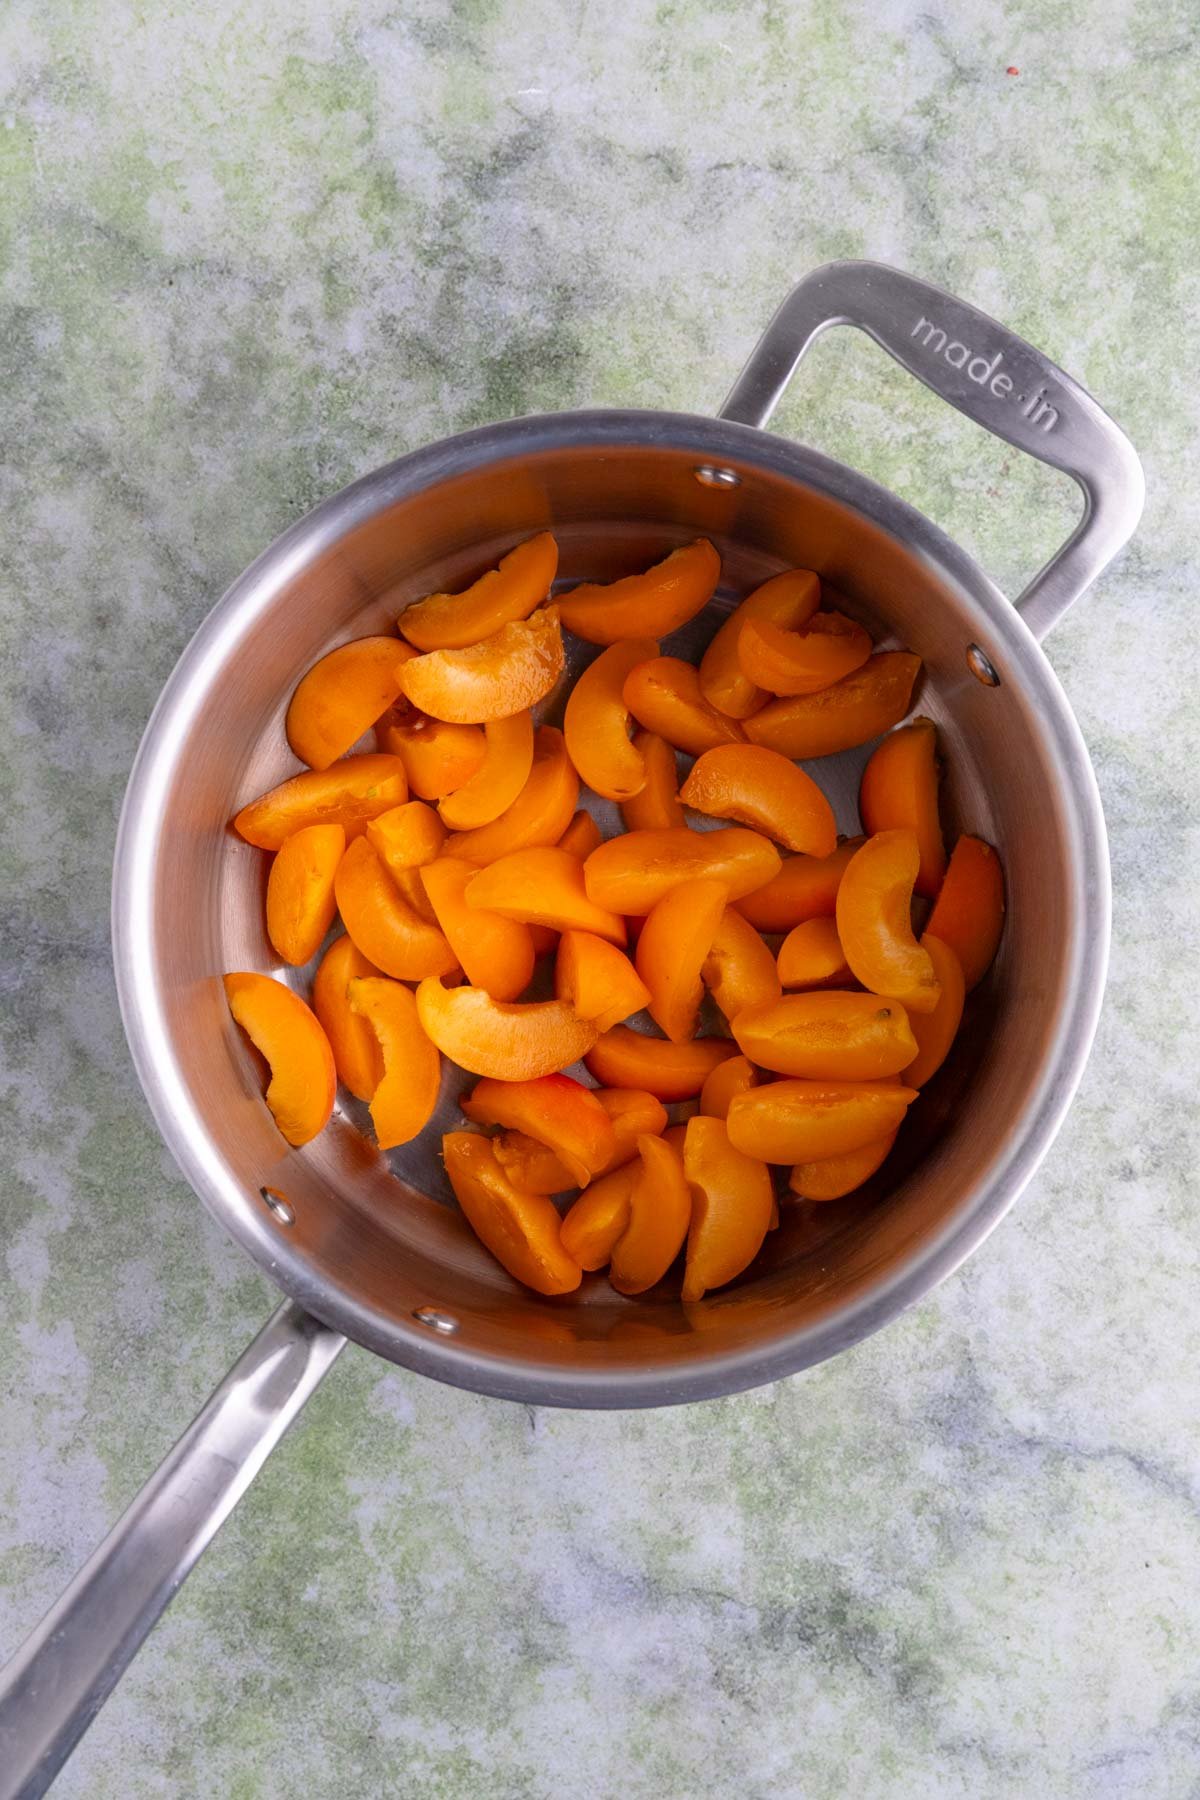
Step 1: Pit and slice the apricots into wedges. Leave the skins on.
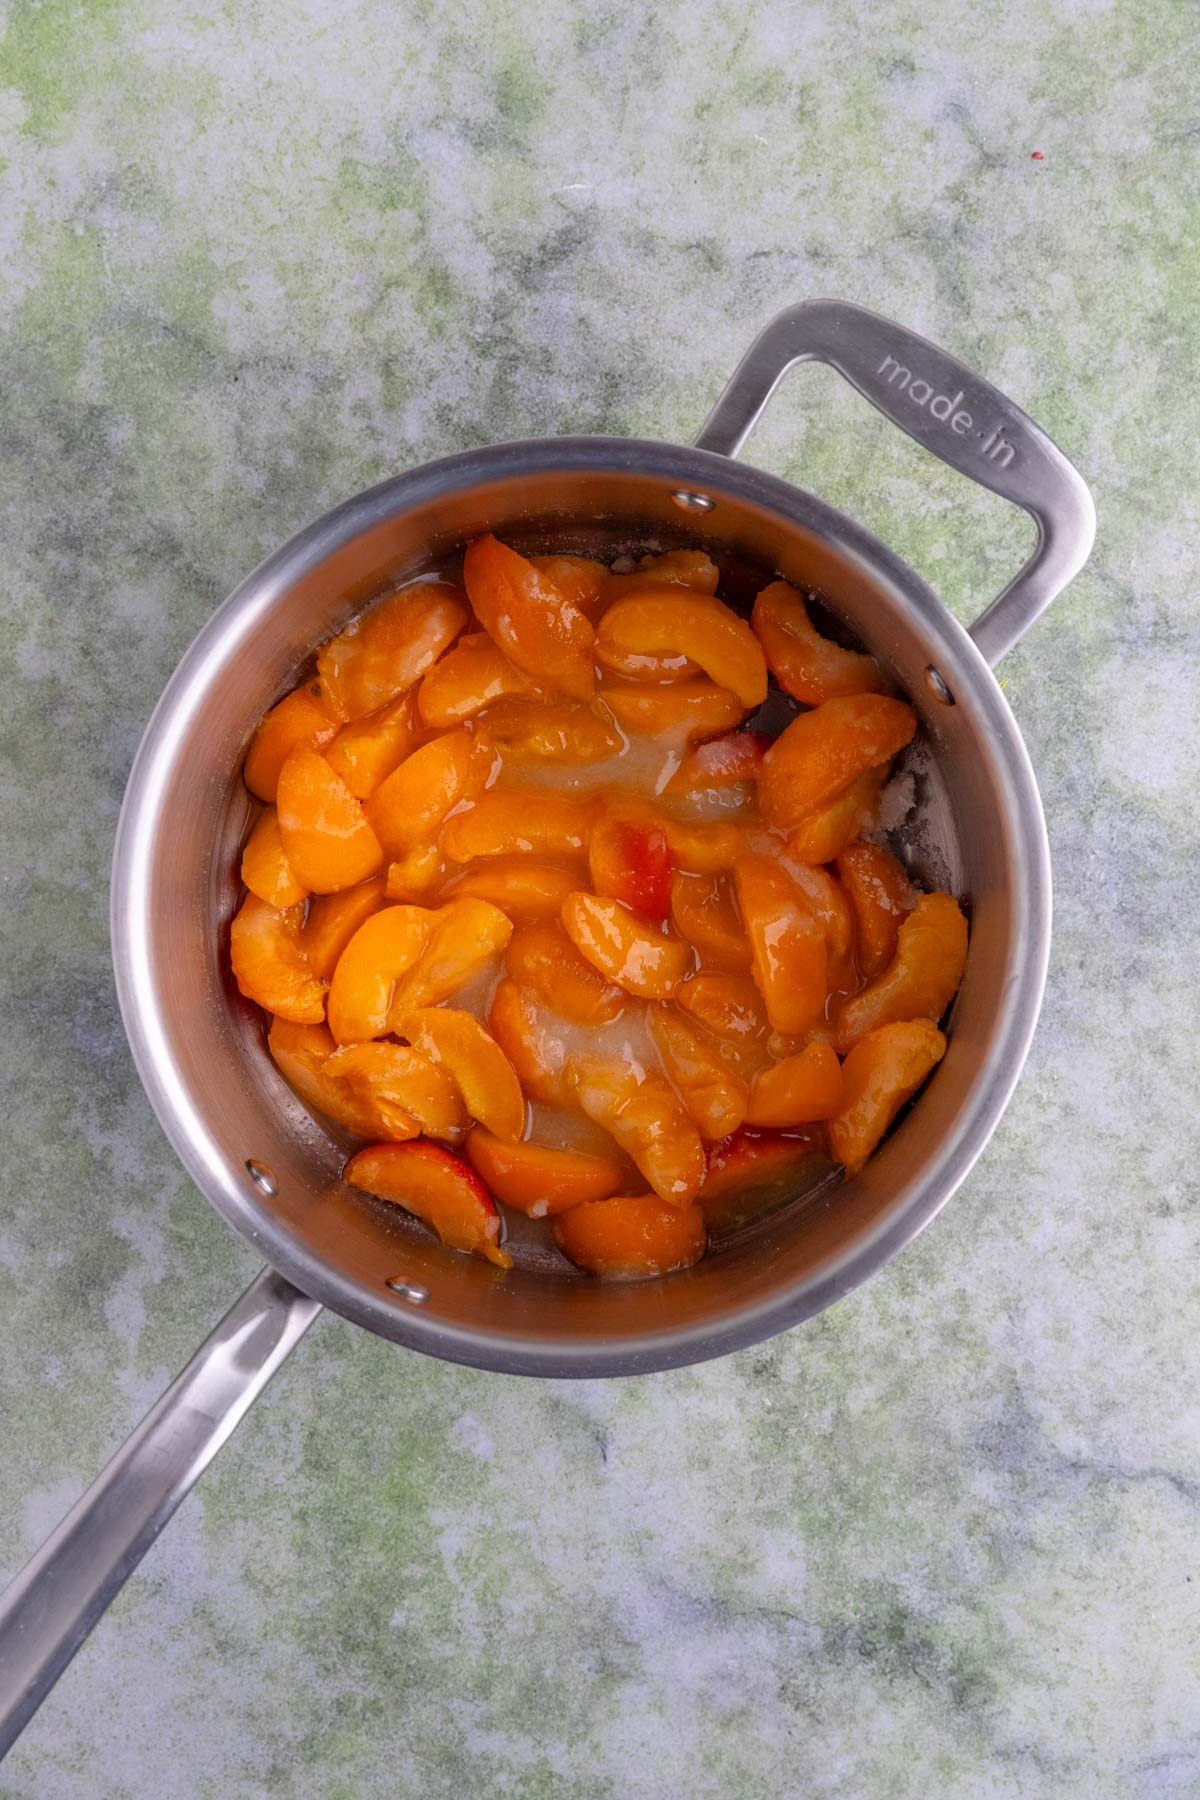
Step 2: Combine the apricots, sugar, and lemon juice in a saucepan. Stir gently and let sit at room temperature for 2 hours.
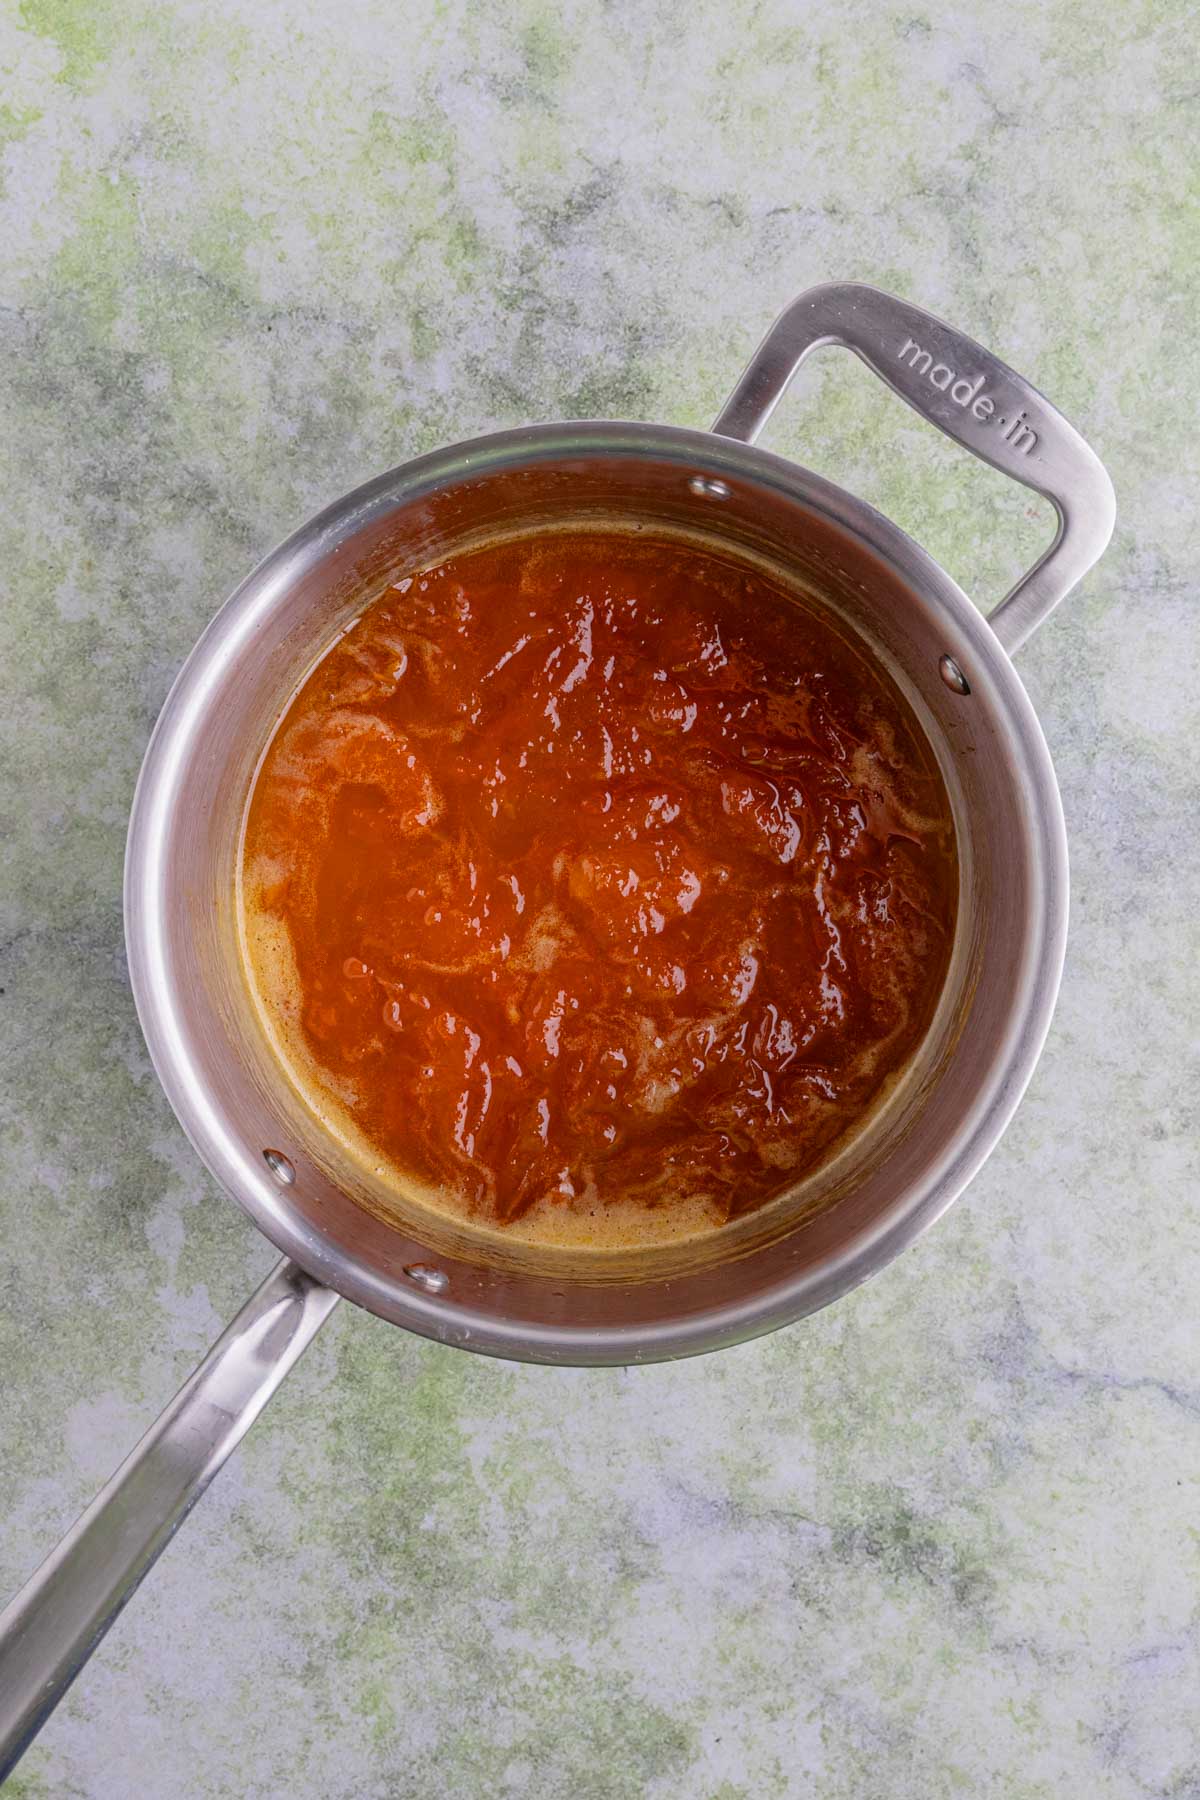
Step 3: Bring the mixture to a boil over high heat, then reduce to medium-high. Cook, stirring often, until it reaches 217–220°F.
Step 4: Remove from the heat and stir in the vanilla extract. Let cool 10 minutes, then transfer to jars.
Tips for the Best Apricot Jam
- Taste your fruit first: Apricots should be tart and flavorful. Avoid bland (tastes like cardboard) or overripe mushy fruit. It won't give the jam much flavor or texture.
- Don’t skimp on sugar: I prefer low-sugar jams too, but apricots need enough sugar to bring out their flavor and help the jam set.
- Cook at a boil: A slow simmer won’t concentrate flavor or help the jam reach the right temperature. Keep it boiling and stir frequently.
- Don’t overdo the vanilla: A little goes a long way. Just 1/2 teaspoon adds subtle sweetness without taking over.
Did you make this tart and tangy apricot jam? If yes, please leave a rating and a comment below.
Connect with me on Instagram and tag me @bakesbybrownsugar to share your recipe remake photos.
Like what you see? Click here to subscribe to Bake's by Brown Sugar Baking Newsletter to get free and delicious treats delivered to your inbox.
Want to Save This Recipe?
Enter your email below and I'll send it to your inbox. Plus get new and recommended recipes sent to you every week!
By submitting this form, you consent to receive emails from Bakes by Brown Sugar.
Small Batch Apricot Jam (with Vanilla)
Ingredients
- 8-9 (490 grams) apricots cut into wedges
- 1-1/2 cups (300 grams) granulated sugar
- 1/4 cup (60 ml) fresh lemon juice
- 1/2 teaspoon pure vanilla extract
Instructions
- Recipe Prep: Clean two 8-ounce jars with hot soapy water. Thoroughly rinse the jars and dry with a clean dish towel. Place a small plate in the freezer. This plate will be used to test if the jam has cooked enough. Cut each apricot into 6 wedges. You should at least 1 pound (454 grams) after the pits are removed.
- Combine and Macerate: In the pot, combine the apricots, sugar, and lemon juice. Gently stir to combine. Let the mixture sit at room temperature for 2 hours, stirring occasionally. This will draw out the juices and flavor from the apricots and help dissolve the sugar.
- Cook: Place the pot over high heat and bring to a boil. Once it starts to boil, reduce the heat to medium-high and cook stirring occasionally. The fruit should still be boiling.
- Cook the jam until it reaches 217-220°F (102-105°C). This is the temperature at which the jam will set properly. At this point a lot of the liquid will have cooked off and the jam will be noticeably thicker. Use an instant-read thermometer to check the temperature.
- Test for Set: Once the jam reaches at least 217°F, spoon a small amount onto the chilled plate that you placed in the freezer earlier. Return it to the freezer for a minute. If the jam wrinkles when you push your finger through it, it's ready. If not, continue cooking and test again in a few minutes.
- Stir in Vanilla: Once the jam has reached the desired consistency, stir in the vanilla extract and then remove the jam from the heat.
- Store the Jam: Let the jam cool for about 10 minutes, then transfer the jam to the clean jars. Let the jam cool to room temperature and then refrigerate for up to 2-3 weeks.
- Canning the Jam: If you want to can the jam for longer shelf life, fill the jars but leave a 1/2-inch headspace. Follow these directions from Ball Jar Co. to safely can the jam.
Thanks for visiting my blog. Let me know what you think.